vrijdag 22 maart 2013

Defrost Your Car Windows Simply

We have come up with a simple way to defrost our car windows. No scraping or chemicals involved.
Only condition is that your car has to be parked near to your house.
When we see that the windows are frozen we get our small electric heater and an extension cord which we pass through our letterbox and place the heater between the front seats of the car. Then we go about our business and glance out of the window once in a while to see if the windows have defrosted yet. When they have we bring the heater indoors again. The car is defrosted and a lot less cold.


We have replaced the plug on the extension cord with a flat one so it will fit though our letterbox. If you live in Britain and your plug doesn't fit through yours OR you don't have a letterbox in your door you will have to open a window or your door slightly so you can pass the electric cord through.
We are very pleased with this solution and have used it frequently this winter.

donderdag 21 maart 2013

Simple Air Freshener

Sometimes you have smells in the home you want to mask quickly. I'm not talking of smells due to unhygienic circumstances or stale air but am thinking more of cooking smells or fish smells etc.
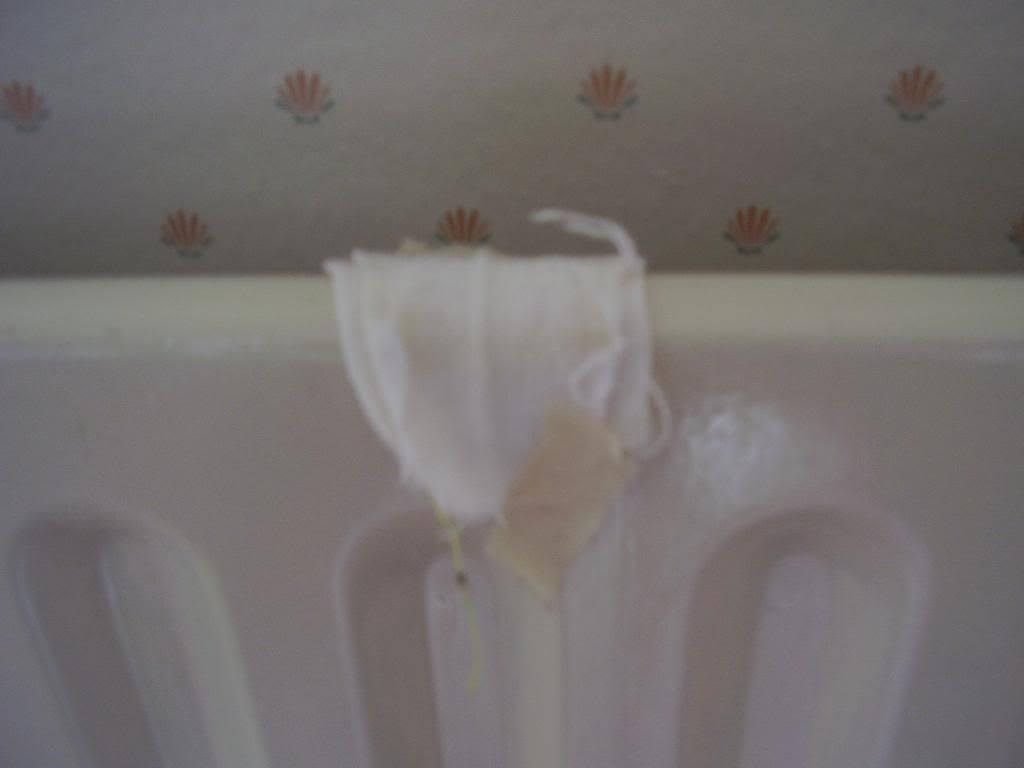
I have found that Sticking a piece of cotton  material on the radiator with a piece of low adhesive paper maskingtape and then dropping a drop of essential oil or perfume on it helps a great deal.
This only works it the heating is on of course. 
During summer or in warm countries you could lay the piece of material in the sun on the windowsill.


dinsdag 12 maart 2013

Decorating With Sequins

Once in a while I take a good look at the clothes I have in my drawers and cupboards. Often I'm surprised with what I find ,things long forgotten about appear before my eyes! A few years back I found a T-shirt in the bottom of a drawer of which I liked the colour but didn't like the cut. It was quite short so I couldn't tuck it into anything and quite wide at the bottom so it looked as if I didn't have a waist. As I stood holding it I had an idee! I could embellish it with sequins! I had bought some sequins with birthday money I had received so this was a good chance to use them.
I attach the sequins as follows. I stick the needle through the material en then through the hole in the sequin and then through a small bead and then back though the sequin and material. To do this I use the smallest quilting needle I can find. These are so thin that they will go through the hole in the bead easily. After this I make a small knot in the thread on the back of the material. Without cutting the thread I start on sewing on the next sequin a little bit further on. I started by attaching about two rows at once and continue to add rows till I think there are enough or I've had enough whichever comes first ;-)
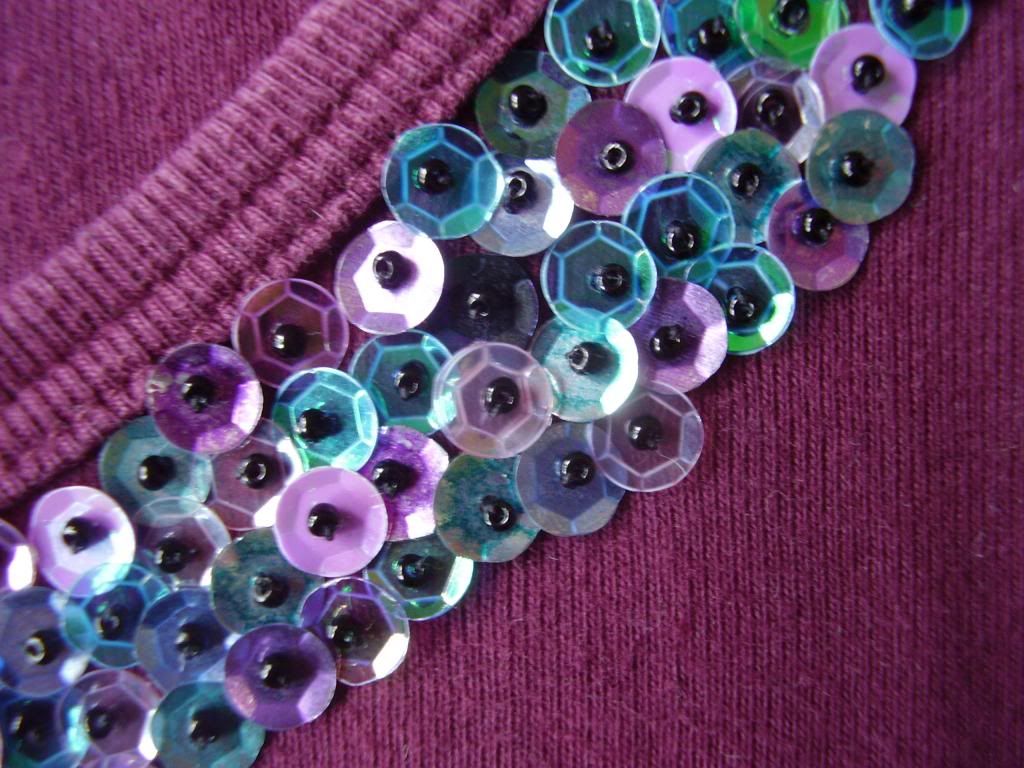
Here's a close up photo


By attaching them in this way you don't see the thread they are sewen on with, unless you use a contrasting colour.
It looks like a lot of work but you can do it while watching the t.v. and you'll be finished before you know it!

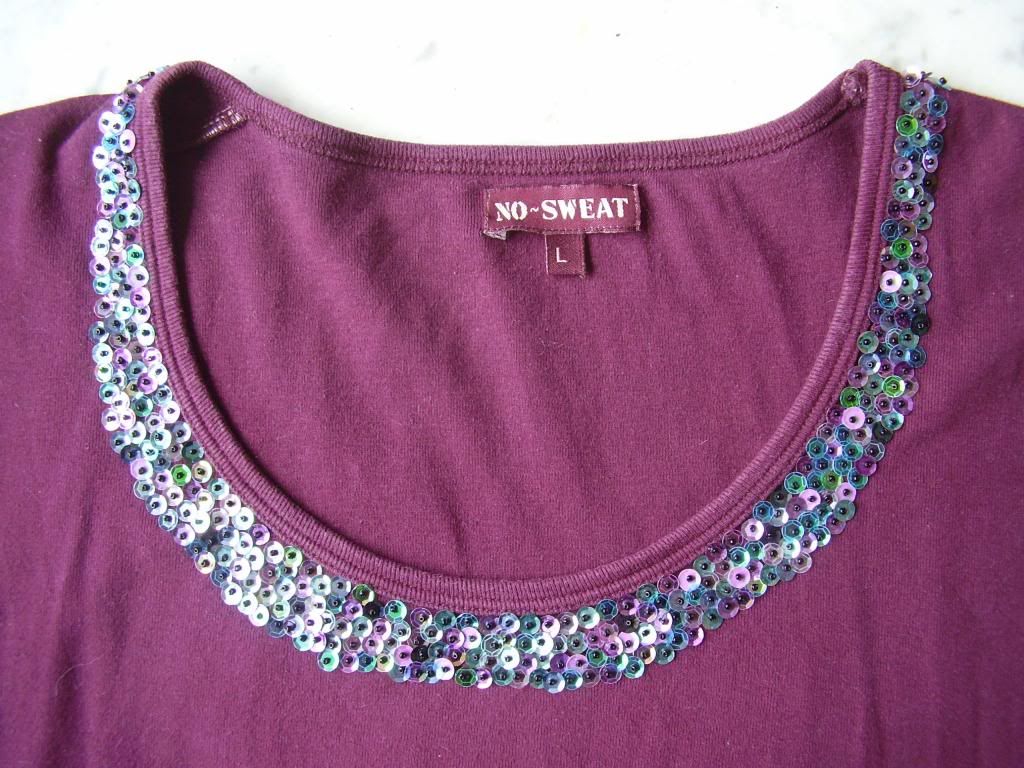
This is the finished result


Perhaps you are now thinking, "you can attach al the sequins you want but that won't change the fact that it is too short and too wide".
Well, I have a long very thin cardigen and I wear the T-shirt under that when I go out to places where sequins are appropriate.

When my daughter was to get married a few years back she and her boyfriend had set the date for October the 1st. I had bought a very summery floral dress with short sleeves thinking I could just pull it off as the weather can still be very nice at the end of September, and beginning of October. But around that time the grandfather of my son inlaw died and they ended up going to a funeral instead of getting married and the wedding was postponed untill the end of October. Noway could I wear the dress I had bought so I went to look for something else.
I found a simple block coloured dress which I liked but because I bought it in a chainstore I was afraid that one of the guests would have exactly the same dress as I had. So I sewed a string of sequins a round the neckline which I cut off after the wedding. That way I could wear the dress during everyday life without looking as if I was going to the Oscars!

zondag 3 maart 2013

Decorating With Beads

I love embellishing things. Bags, jackets, clothes, shoes you name it, I have probably embellished it at some time or other.
One of my favorite methods is with glass beads. Once attached properly they can handle a knock or two and survive a spin in the washingmachine unlike delicate embroidery.
Instead of sewing them on one by one I have discovered that it is much faster and neater to first make a shape or chain en then sew them on the article you want. And when you want to get rid of it, just cut the beads off and save them for another project!
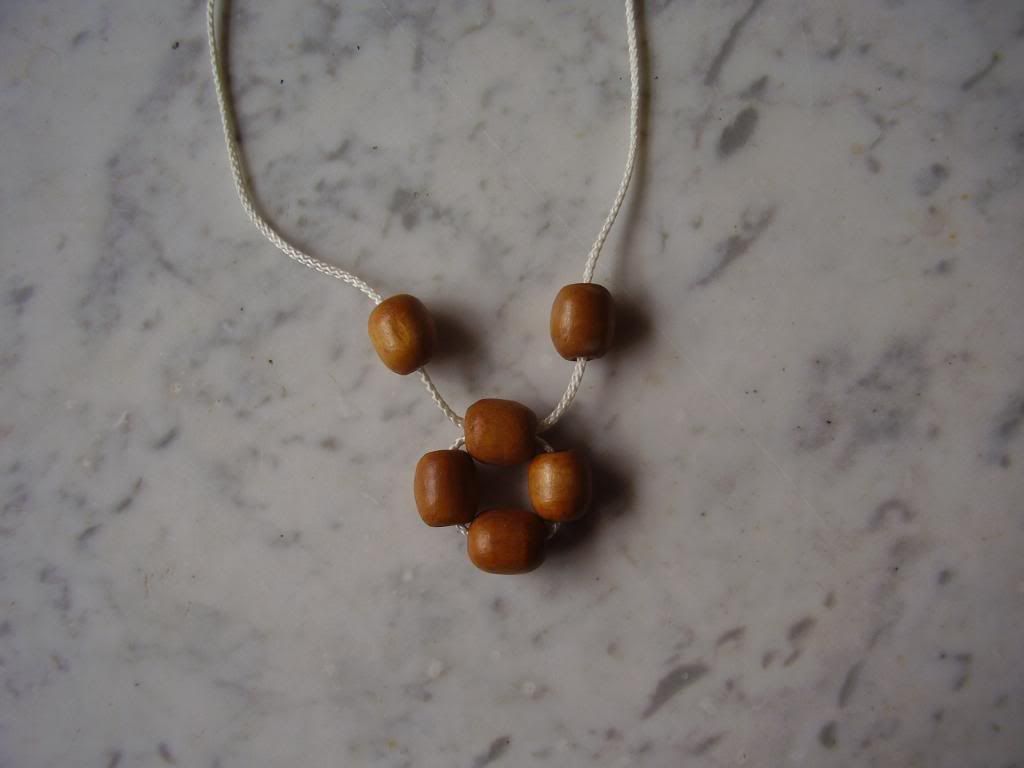
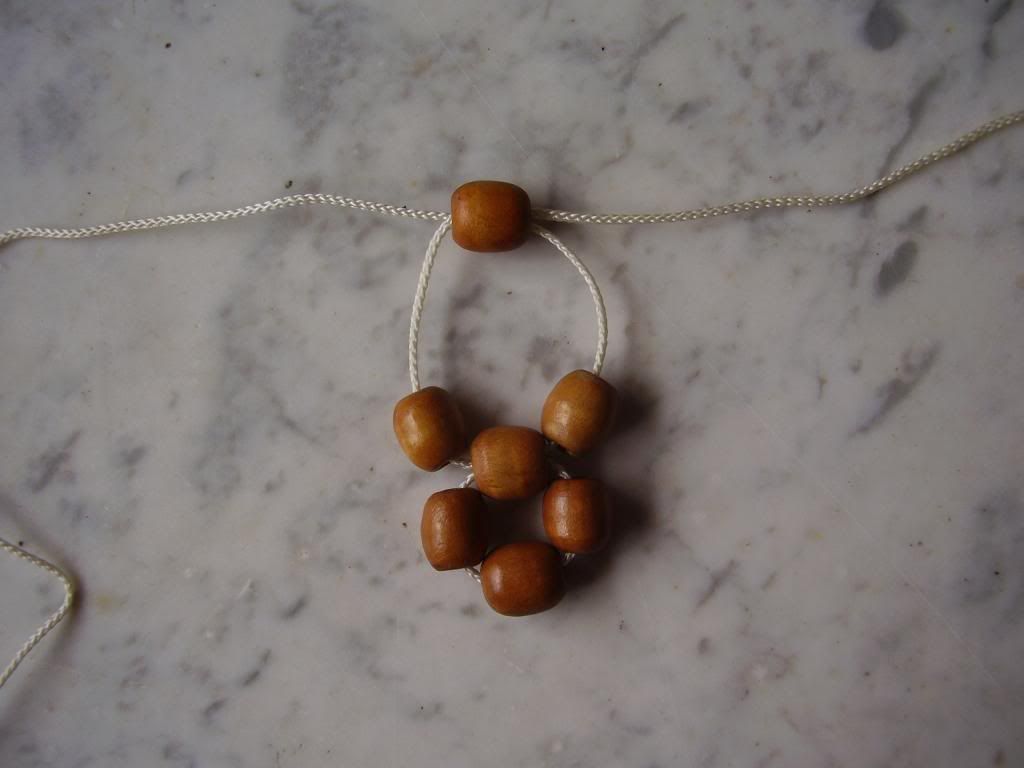
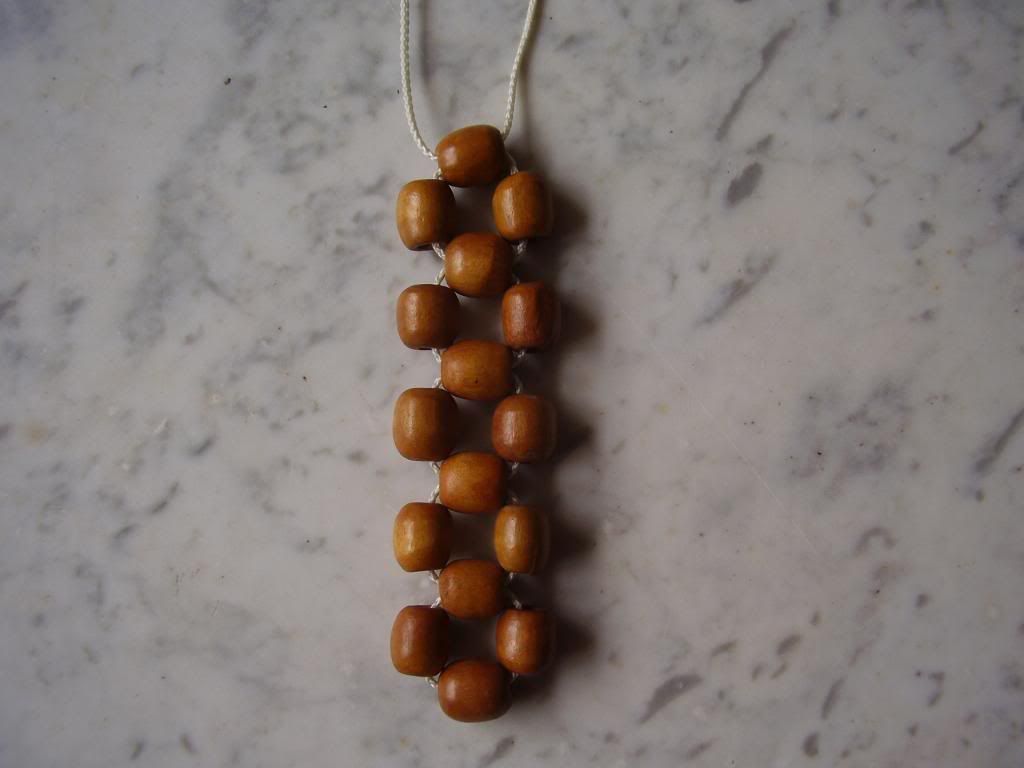
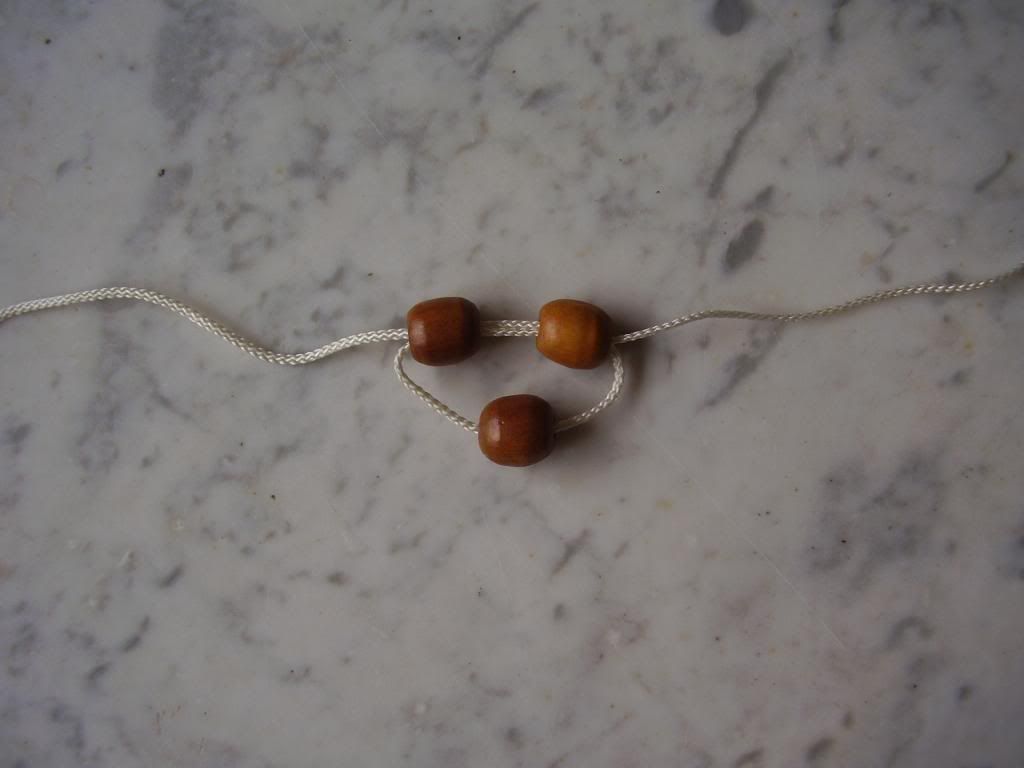
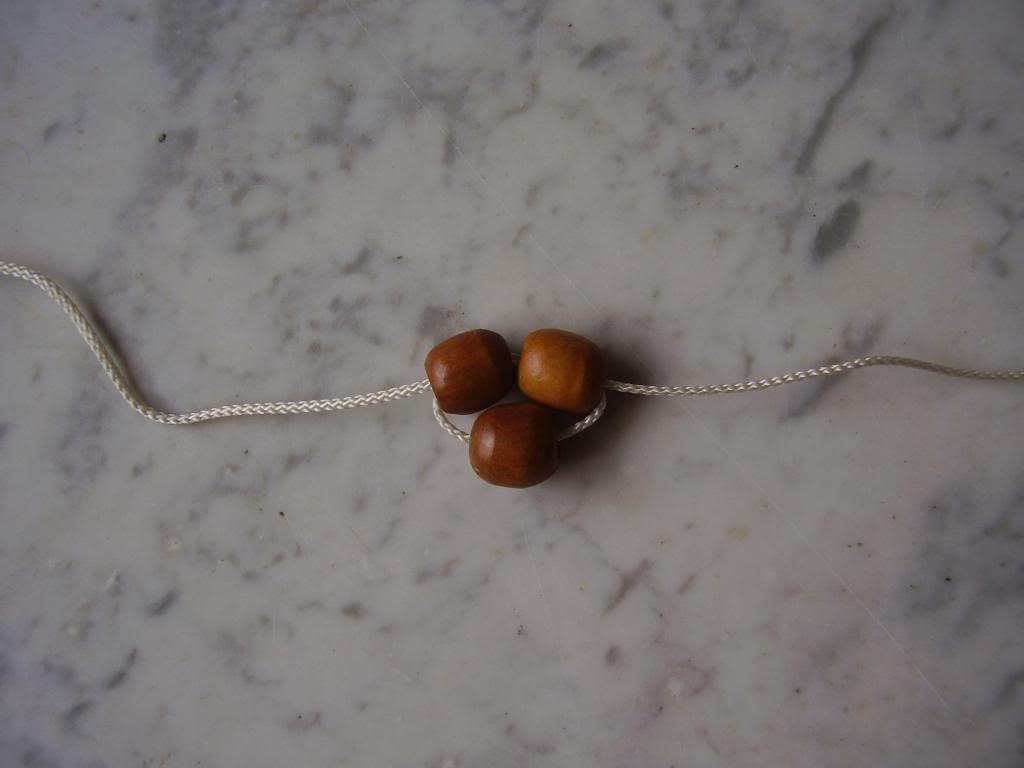
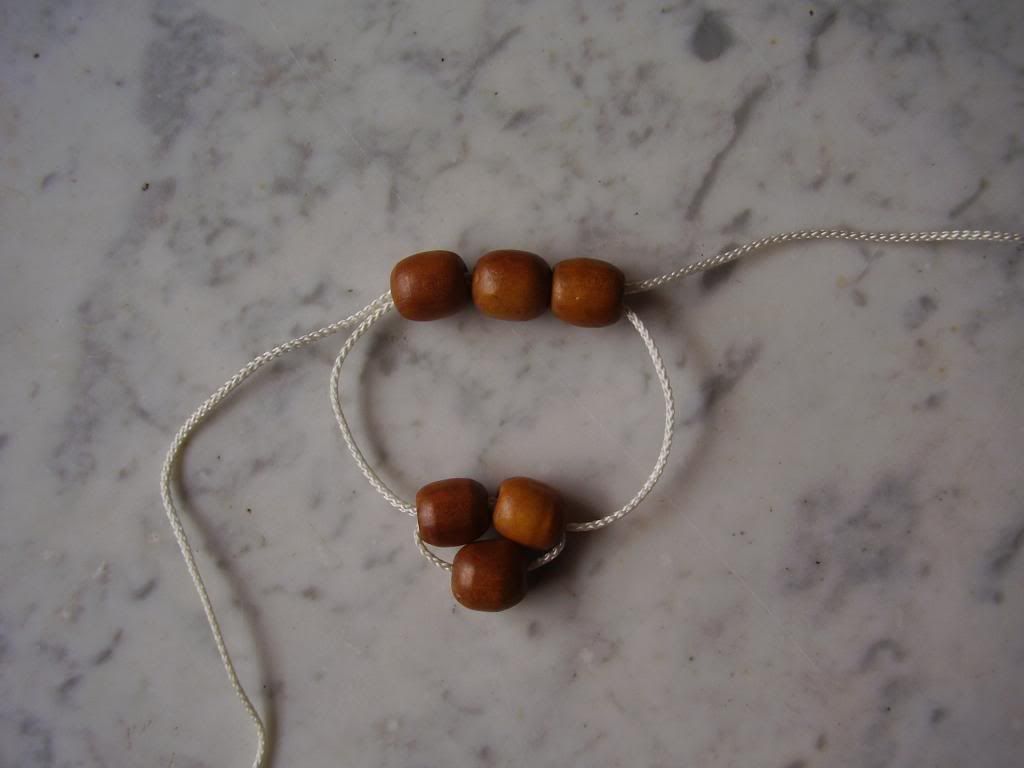
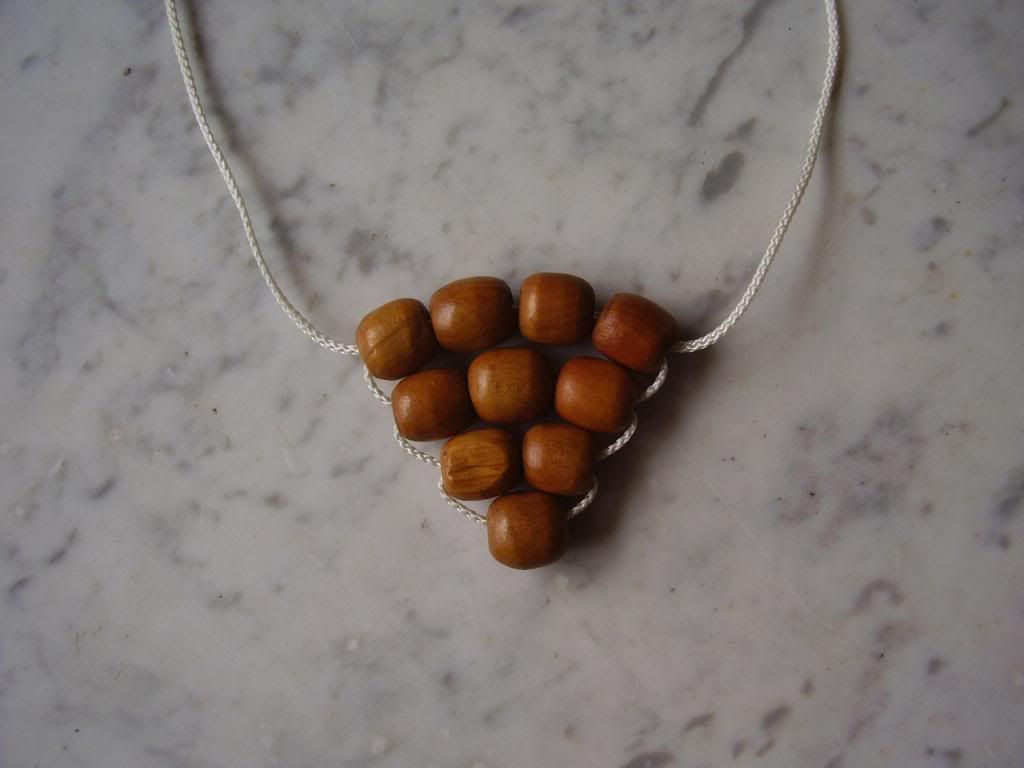
I have made a sequence of photo's using large beads to show you how I make a chain. I string them onto thin nylon thread or thin metal wire if I want to bend  it into a shape afterwards before attaching it to the article. I use nylon for things that have to be washed often as I don't know if the metal wire will rust over time or not.


etc. etc. till you get the required length.

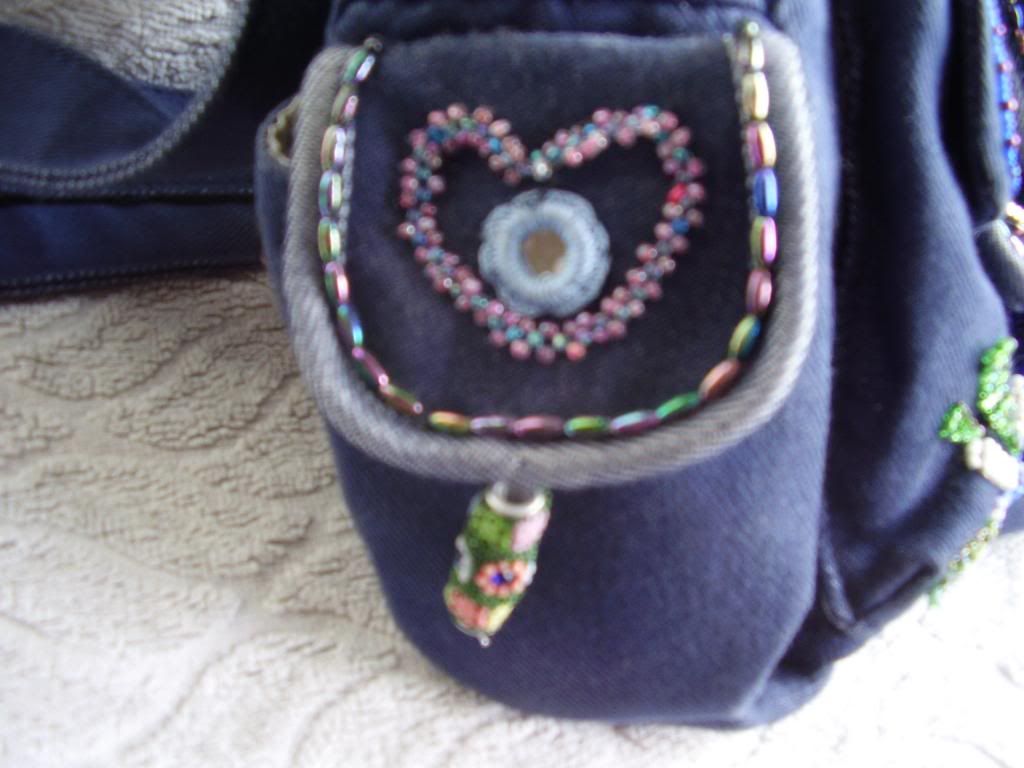
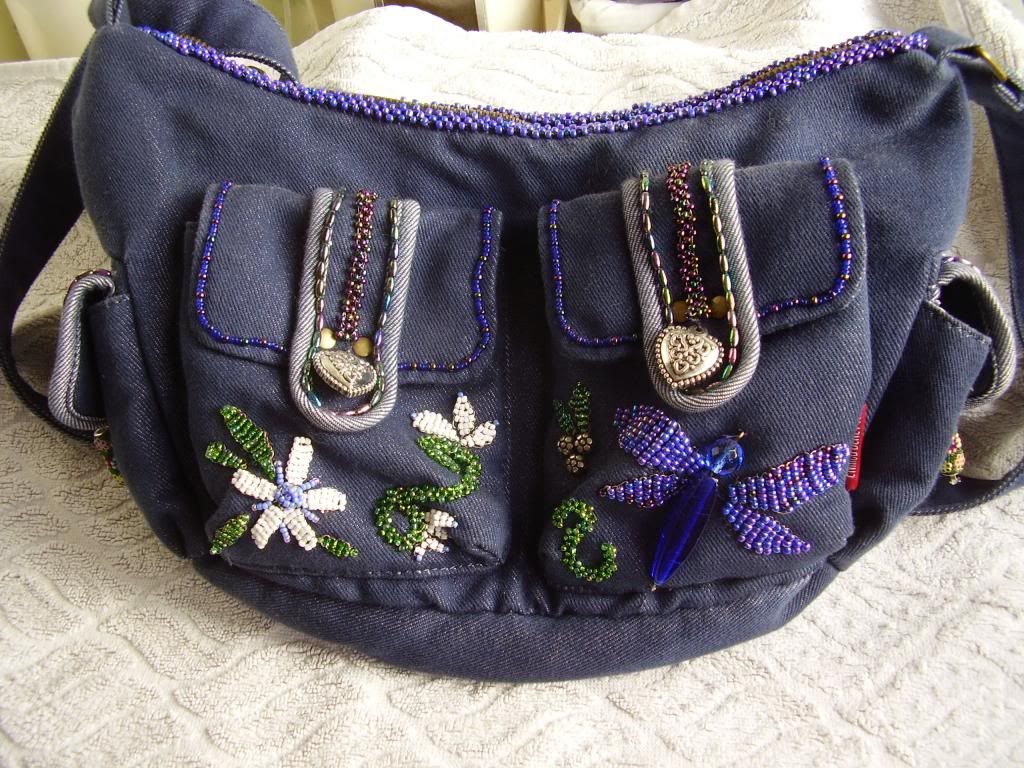
Here is an  example of what you can do with it.


I made the heart in this way. I'm sorry about the rubbishy photo but you get the idea.
As well as a long string for edging or swirls you can make oval or more round shapes which you can use as flower petals, leaves or insect wings.


And so on... you can change the shape by adding or using less beads. The more you use the same amount the longer the shape becomes.

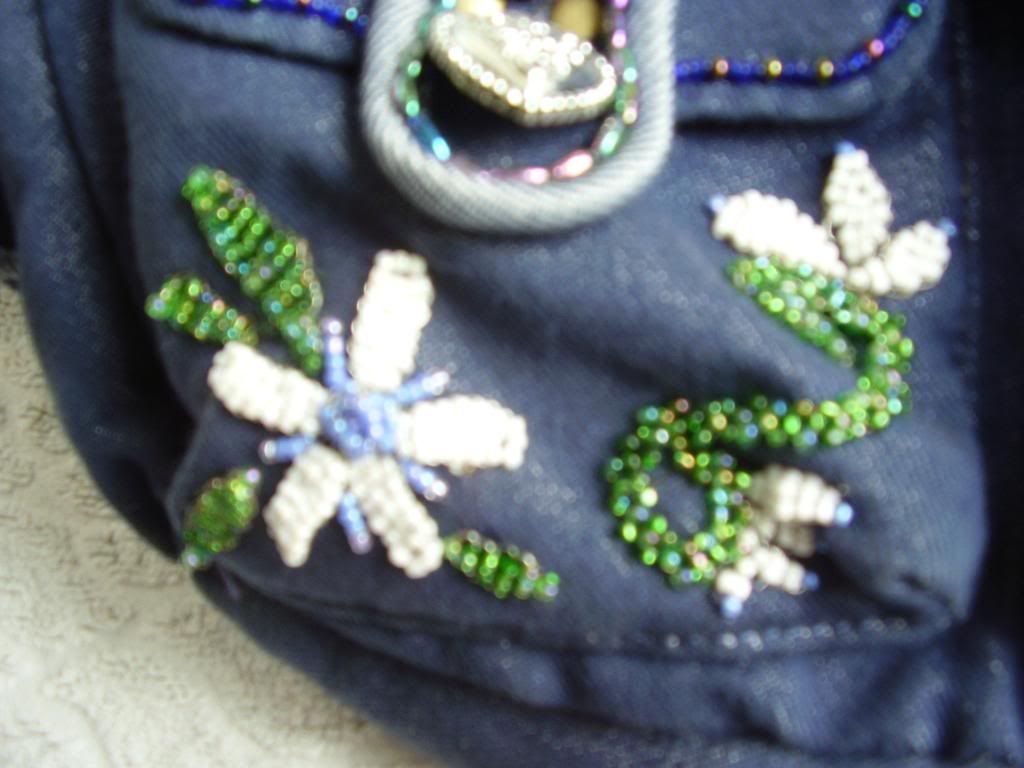
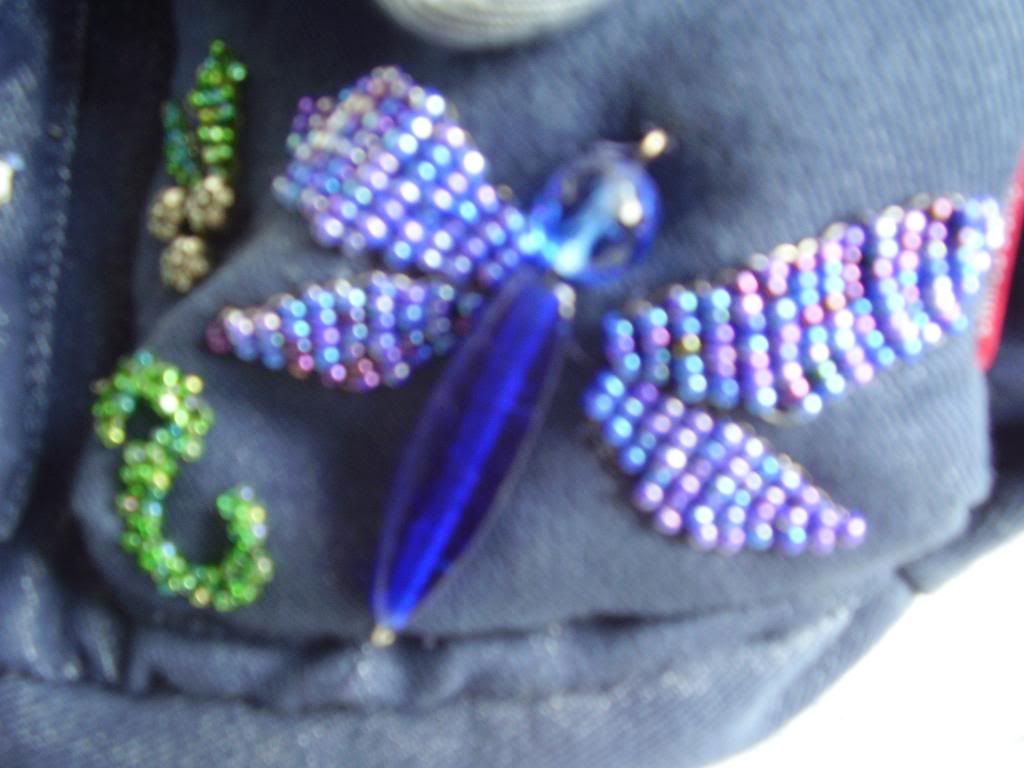
Here are some examples of what you can make with these.


And the finished result...


It looks like a lot of work but is finished before you know it!

zaterdag 2 maart 2013

Fabric Art

For years I have made all kinds of patchwork. There was a time when I thought that I would be lost without some kind of project. It even reached the point where I had a little tin with an "emergency project". This consisted of hundreds of little squares of fabric and hundreds of little squares of cardboard, a few pins and a needle, thread and a pair of scissors. I had done this because I thought that if I got ill and landed in hospital I wouldn't have anything to do! ( It didn't occur to me that I would be too ill to do anything but lie in my bed) Luckily I stayed healthy so I decided to start on the emergency project anyway. The end result was a patchwork top consisting of more than a thousand litte squares of fabric sewen together. At this point my interest in patchwork had wained and I had become very lazy. The thought of sandwiching and quilting the top became very daunting. I had everything I needed but just couldn't get myself to get started on it!
Then my father died... he had a house full of stuff and I kept finding all kinds of things in the back of cupboards and under beds etc. I also found a big gilt pictureframe. It was then when I got the idea! My heart started beating faster and I couldn't wait to get home and see if it would work....
Once home I got out the patchwork top and the size was right! I even had a little leftover round the edges.
I then got my stapelgun and stapeld the top onto the back of the frame with this result


I could now hang all my hard work on the wall without having to finish the thing!
I know you probably don't have a quilt top with more than a thousand pieces of material waiting to be finished lying around. But perhaps you could use some nice modern fabric to stapel behind an old frame you have. Something with big bold splashes of colour.
If you like the idea but don't have a frame you could hunt one down in a yardsale or thriftshop.
It's a simple way of making a big statement.