I'm quite good at drawing, not as much drawing from imagination as copying things from photo's and pictures.
I'm hoping to become a grandmother later on this year but I promised myself that I wouldn't impose any homemade things on my daughter without an explicit request from her.
Although I'm usually a little pleased with the end result when I draw or paint something ,I go through a lot of anguish and self doubt during the creative process. This self doubt has got a little less since I use the gridmethod.
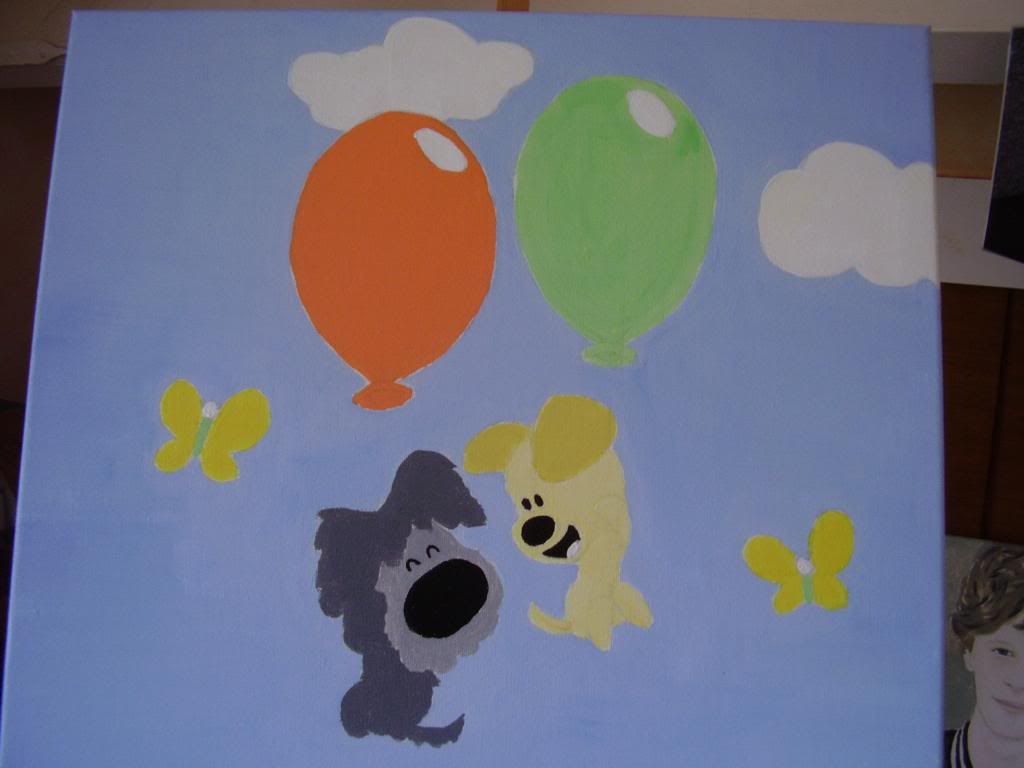
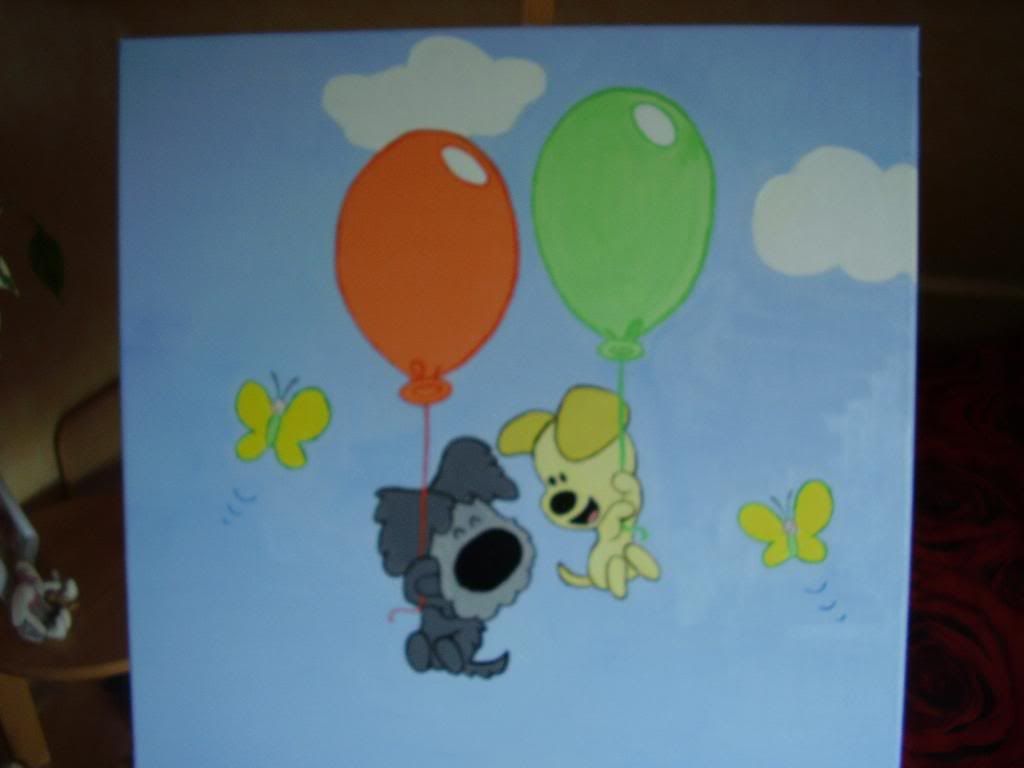
I didn't have to wait very long before I got the first request to make something. My daughter wants a Woezel and Pip theme in her nursery. I don't know if they are a world wide phenomenon or just "famous"in the Netherlands but they are cartoon characters.
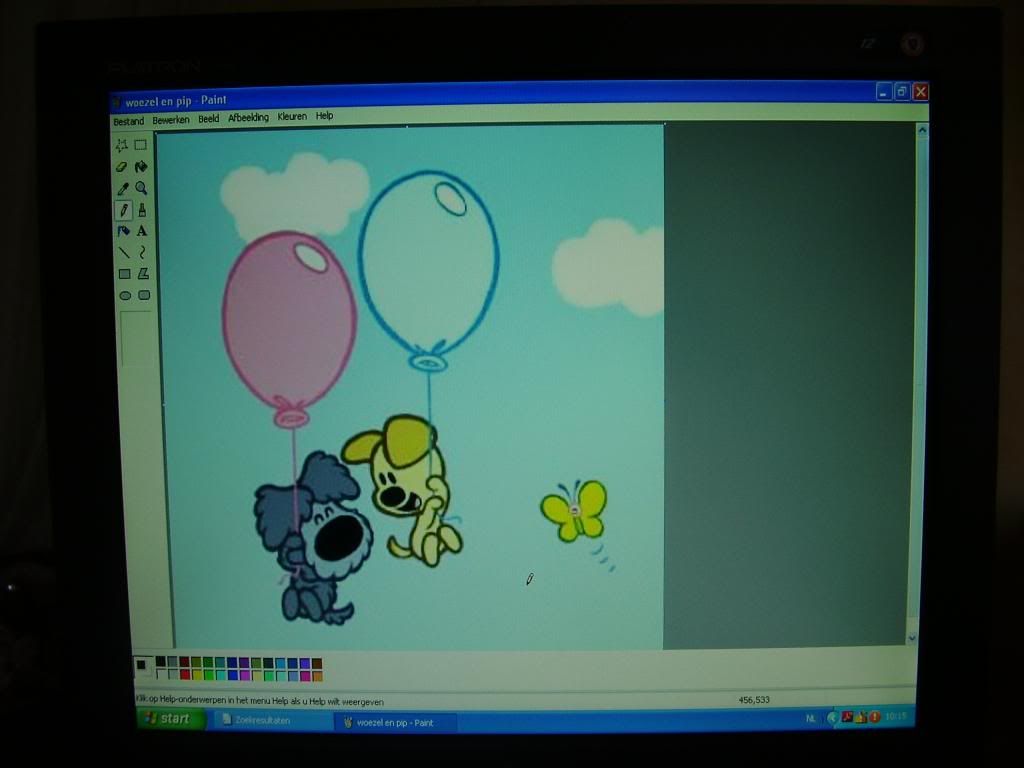
I started by looking for an illustration that I liked on the internet. Make sure the photo or illustration you want to use has enough pixels so that it doesn't turn into a piece of abstract modern art when you enlarge it.
Then I overlay the photo with a piece of stiff clear plastic on which I have drawn a grid with a permanent fineliner
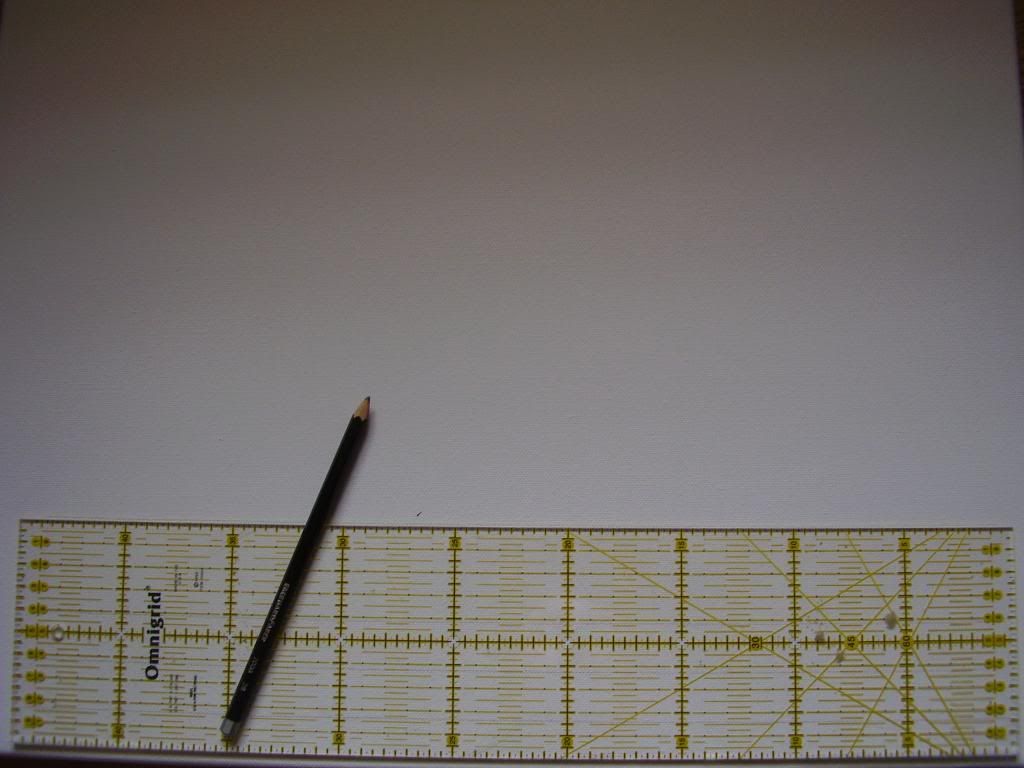
You will find sheets of this kind of plastic in craftstores. To draw the grid I used my quiltruler. This needs a lot of precision. I drew a grid with squares of 1cm x 1cm.
I stick the plastic grid on just above my computer screen using stickytape. Make sure the grid is absolutely straight!
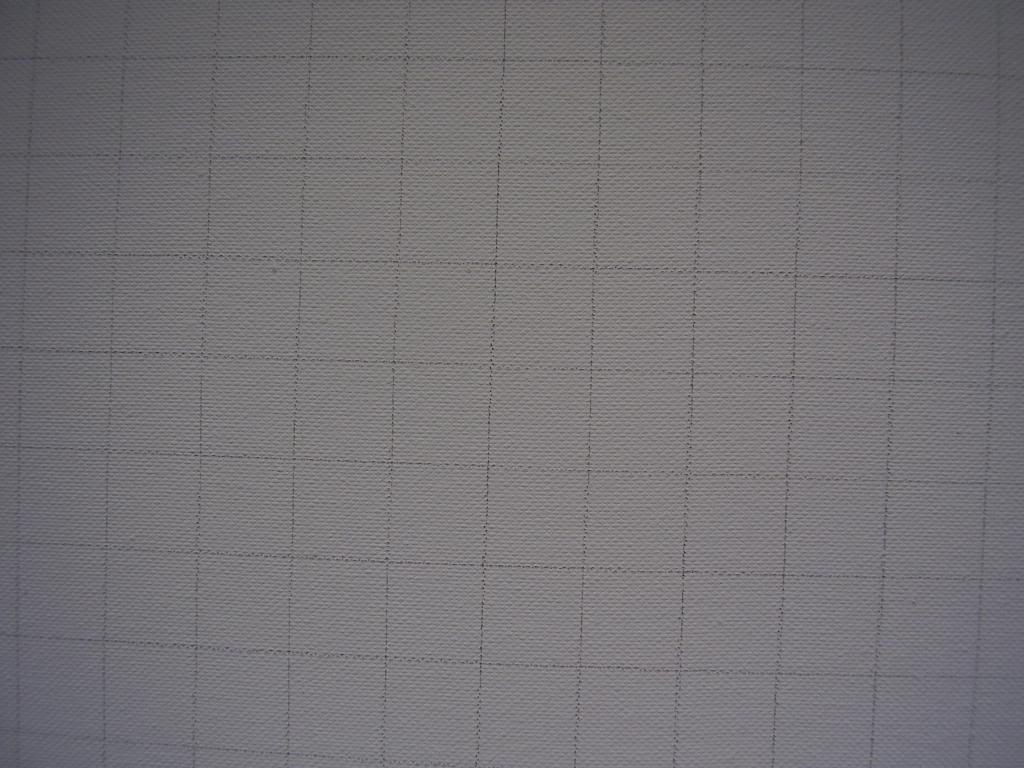
Then using a pencil I very lightly draw a grid on the surface I am going to paint or draw on also using my quiltruler. The size of the grid you need to draw depends on how much you want to enlarge the photo.
In this case I wanted to double it so I drew a grid of squares measuring 2cm x 2 cm. But when painting on a wall etc. you will probably want to enlarge it more.
I drew this grid clearly for your benefit but if you want to try this method yourself draw it as lightly as possible because when you have finished copying you wil have to try and remove the grid by using an eraser. Sometimes if unsufficiently erased it can be seen through the paint. Especially when using watercolour paint.
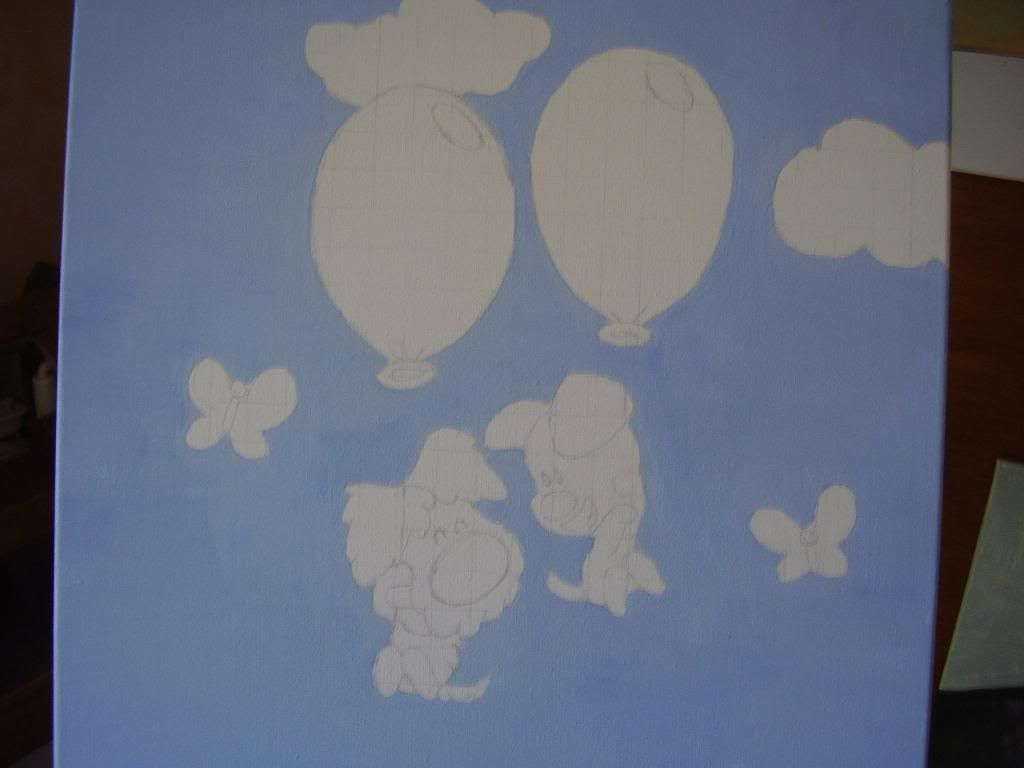
Then you can start to copy the illustration. Look at each square and copy the lines in it one by one. Count carefully and find out if the illustration will fit onto the surface you want to use and try to get it in the middel ( if that is where you want it). If it doesn't fit you can adjust the size of the illustration on your computer screen.
After you have finished copying and have erased the grid as much as possible you can start painting. I used acrylic paint on this one. I started by painting the sky. I mixed enough paint to cover all of it, if you make too little you will have to mix more and it can be difficult to get the same colour. Acrylic paint can change colour a bit when dry. I had to paint three layers before the base didn't show through anymore.
Then I painted the other features. I waited to do the black bits untill the other paint was completey dry to prevent running.
Lastly I painted the darker borders and lines. When it is completely dry your painting is finished!
Paints and canvases can be bought cheaply every so often as special offers in shops which don't usually sell these things ( at least, they are in the Netherlands) Paintings like these can make a great inexpensive gift.
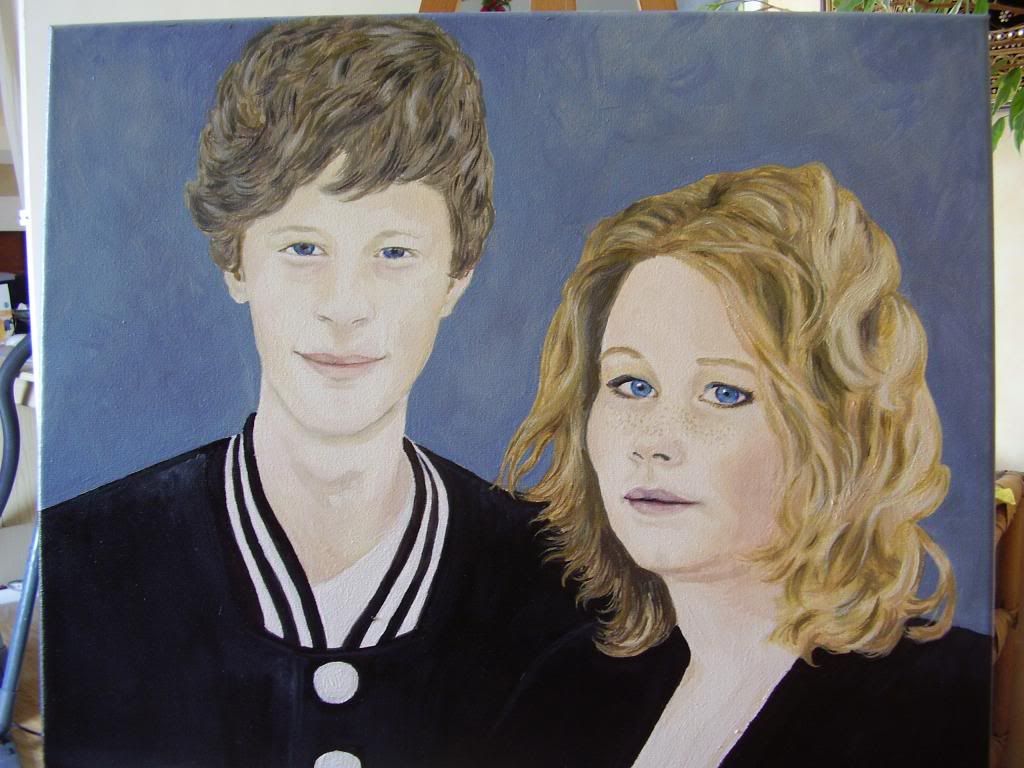
I had a commission to paint a portrait for people I know. I copied the photo in the same way I copied Woezel and Pip above.
This is the finished result (in case you are wondering why one of his eyes is bigger than the other and one ear is higher than the other... I didn't make a mistake he just isn't very symmetric ;-)
So do have a try at this yourself. You may be pleasantly surprised at your undiscovered talents!
I love coming up with usefull, creative and inexpensive ideas and would like to share them with you in my blog
dinsdag 21 mei 2013
donderdag 9 mei 2013
A Backpack With A Message
I love embellishing articles with beads, ribbons, ornaments and findings. The more the better. I love victorian crazy patchwork. In my opinion less is not always more.
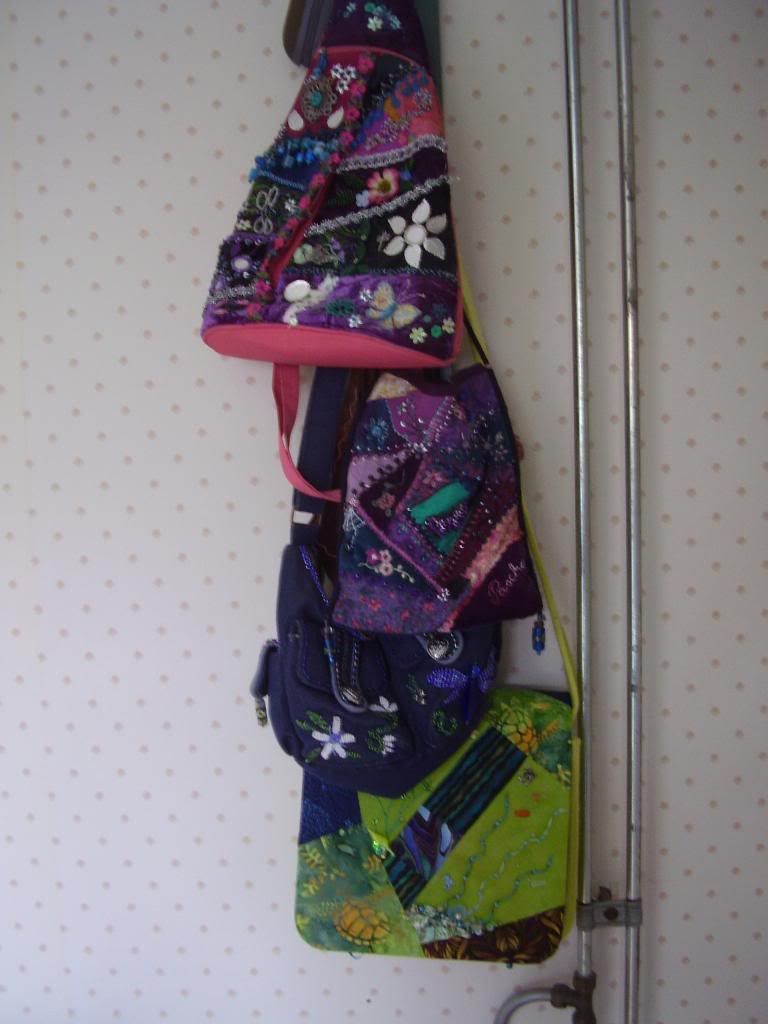
In the past I have decorated a few bags in this manner.
Here you can see the ones I made for myself . I hang them on a mugholder behind a door in our utility room where they hang out of sight and out of the sun.
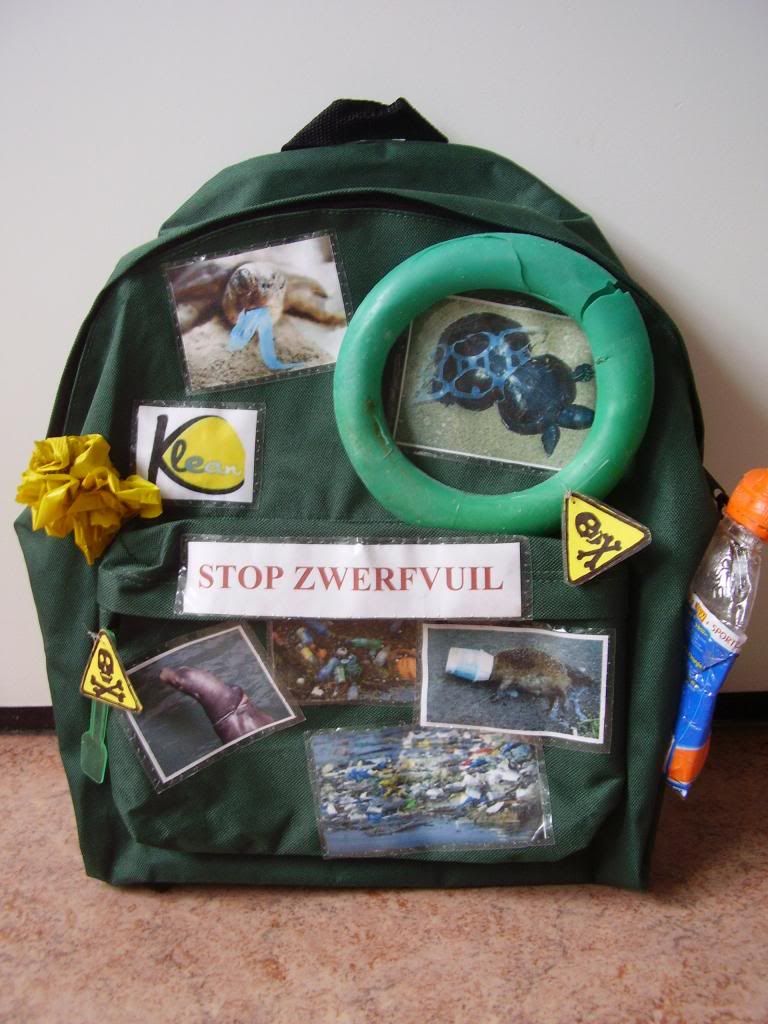
Recently I have been horrified bij de reports about the enormous gyres with plastic waste in our oceans. I wanted to play a very small part in stopping it getting worse.
Then I had an idea of how to bring this disaster to peoples attention without saying a word... I am quite a shy person and not someone who takes to the streets carrying a big banner.
I made a backpak which said all I wanted to.
I "decorated" it with pieces of plastic I had picked up off the streets and pictures off the internet.
To waterproof the pictures I stuck stickybackplastic on the front and back of the illustrations leaving a small rim all the way round when I cut them out so that I use that when sewing them on with nylon thread.
The labels with sculls on them I made with pieces of yellow card on which I drew the scull and crossed bones after which I stuk the same adhesive plastic on as I did on the illustrations.
Stop Zwerfvuil means Stop Litter in Dutch.
Plastics are the worst because the don´t rot and stay in our enviroment for hundreds of years.
Please take 6 minutes and 52 seconds to watch this youtube film to see what I´m talking about
Thankyou
Abonneren op:
Reacties (Atom)
