I'm quite good at drawing, not as much drawing from imagination as copying things from photo's and pictures.
I'm hoping to become a grandmother later on this year but I promised myself that I wouldn't impose any homemade things on my daughter without an explicit request from her.
Although I'm usually a little pleased with the end result when I draw or paint something ,I go through a lot of anguish and self doubt during the creative process. This self doubt has got a little less since I use the gridmethod.
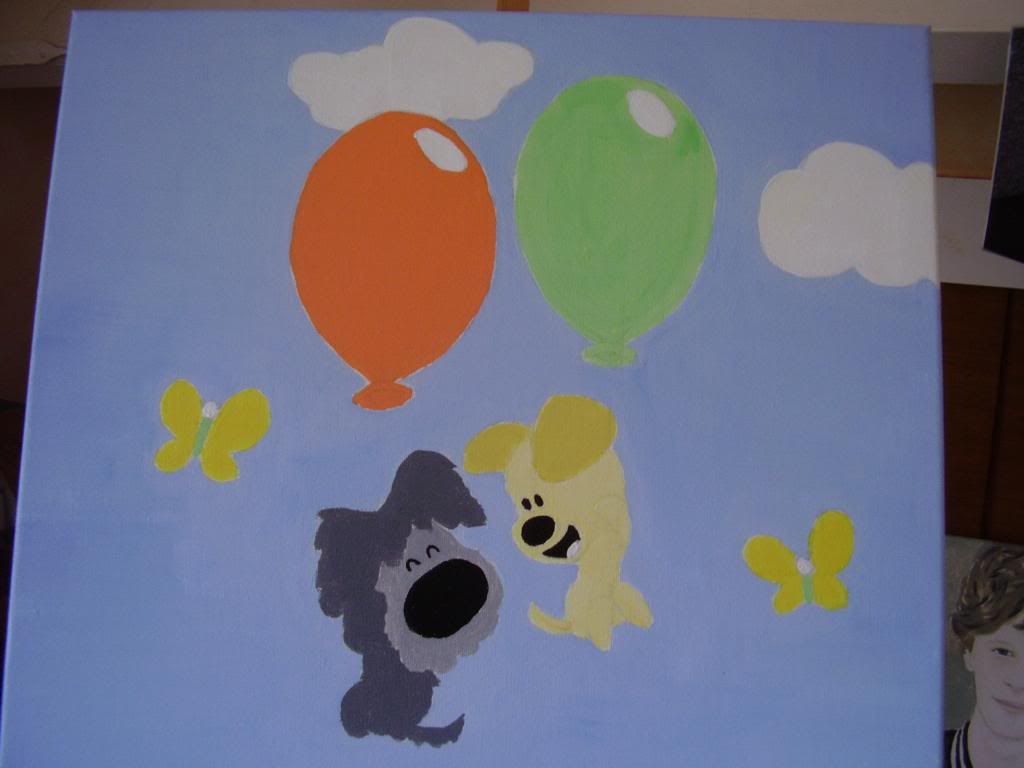
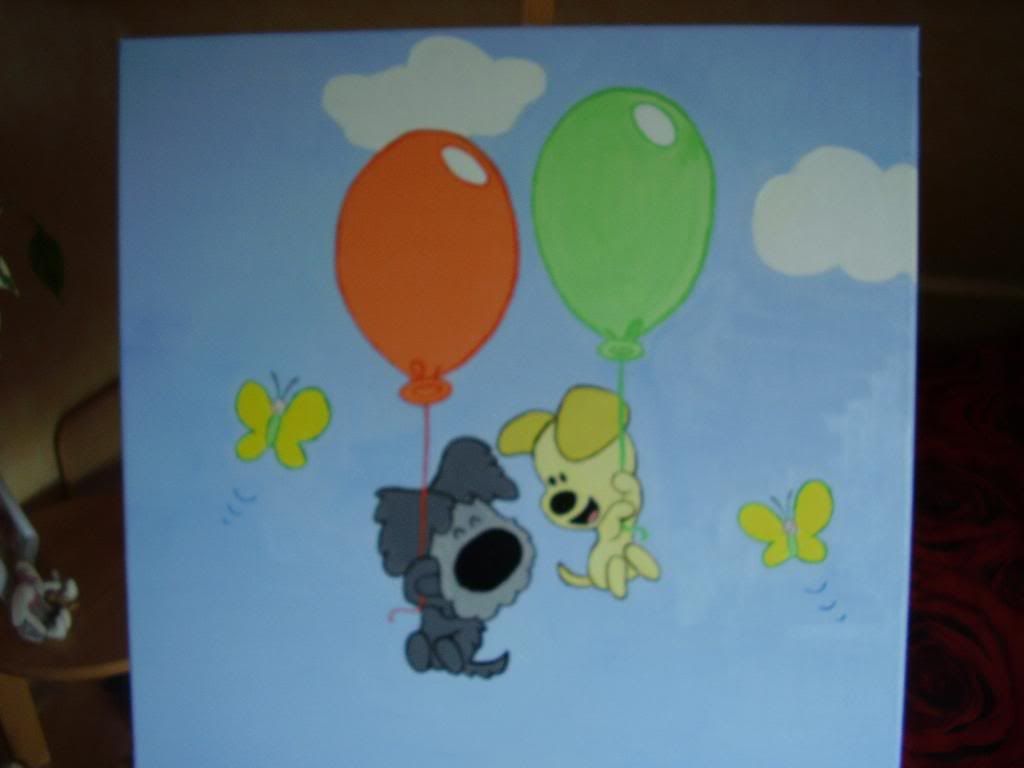
I didn't have to wait very long before I got the first request to make something. My daughter wants a Woezel and Pip theme in her nursery. I don't know if they are a world wide phenomenon or just "famous"in the Netherlands but they are cartoon characters.
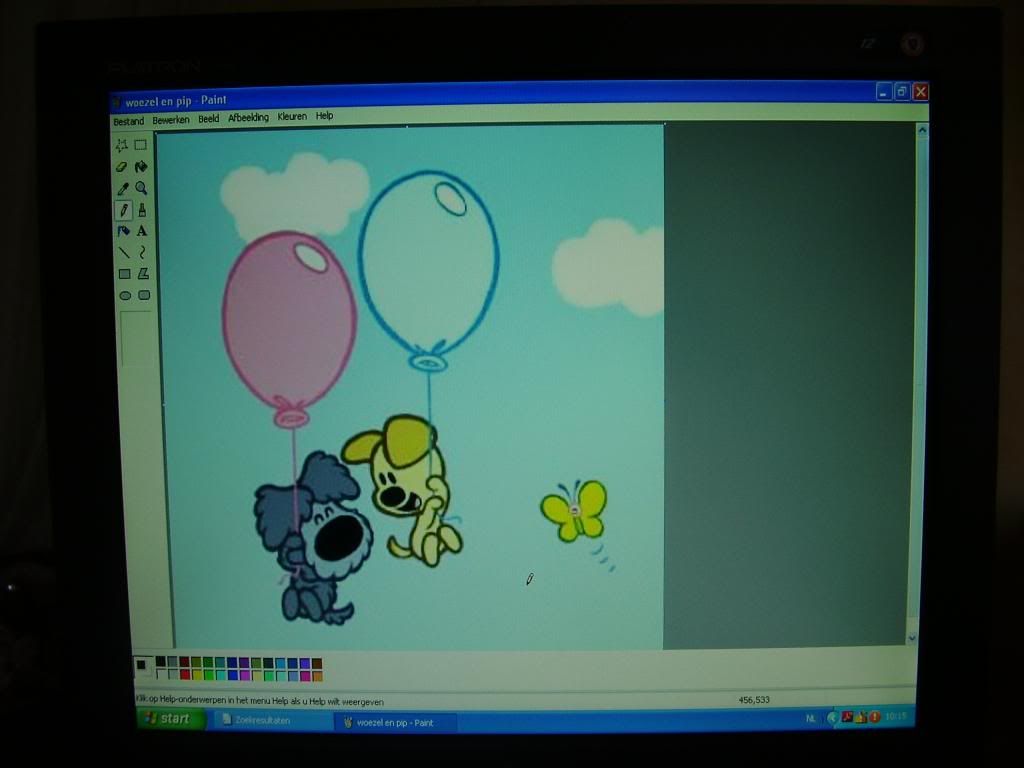
I started by looking for an illustration that I liked on the internet. Make sure the photo or illustration you want to use has enough pixels so that it doesn't turn into a piece of abstract modern art when you enlarge it.
Then I overlay the photo with a piece of stiff clear plastic on which I have drawn a grid with a permanent fineliner
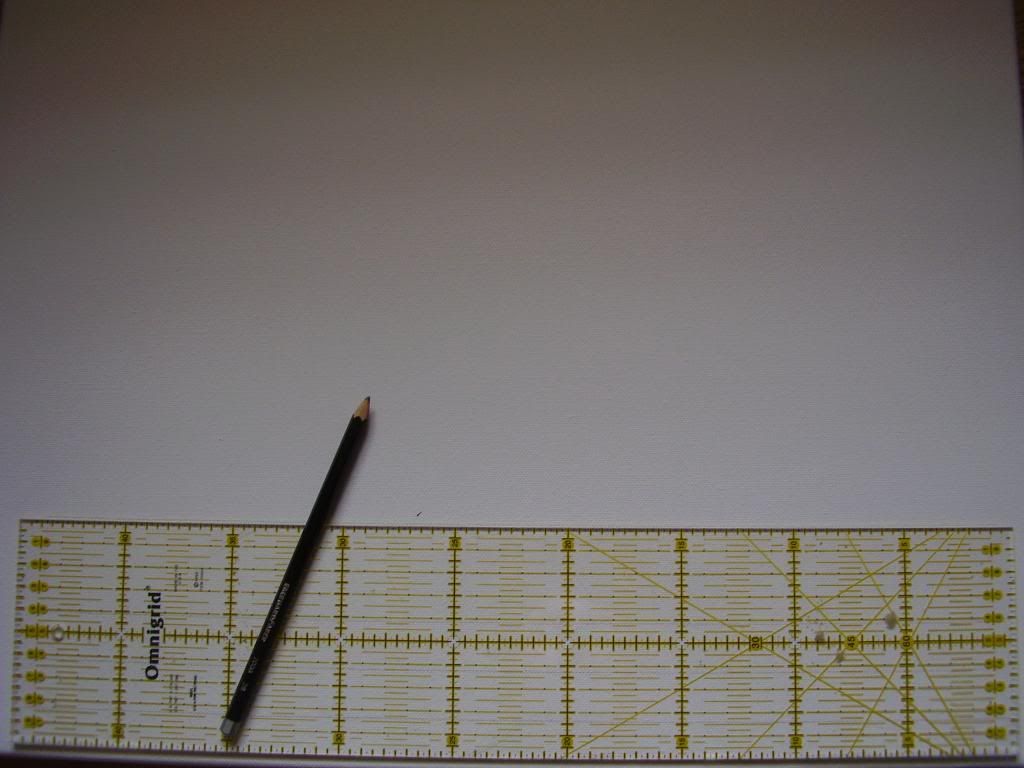
You will find sheets of this kind of plastic in craftstores. To draw the grid I used my quiltruler. This needs a lot of precision. I drew a grid with squares of 1cm x 1cm.
I stick the plastic grid on just above my computer screen using stickytape. Make sure the grid is absolutely straight!
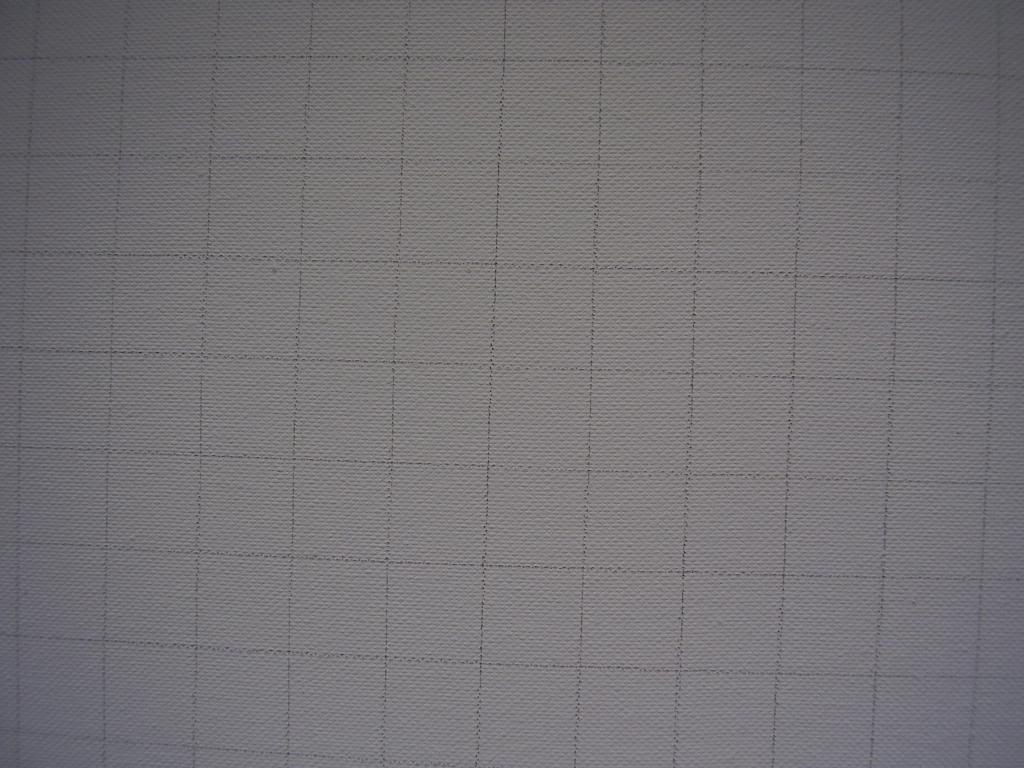
Then using a pencil I very lightly draw a grid on the surface I am going to paint or draw on also using my quiltruler. The size of the grid you need to draw depends on how much you want to enlarge the photo.
In this case I wanted to double it so I drew a grid of squares measuring 2cm x 2 cm. But when painting on a wall etc. you will probably want to enlarge it more.
I drew this grid clearly for your benefit but if you want to try this method yourself draw it as lightly as possible because when you have finished copying you wil have to try and remove the grid by using an eraser. Sometimes if unsufficiently erased it can be seen through the paint. Especially when using watercolour paint.
Then you can start to copy the illustration. Look at each square and copy the lines in it one by one. Count carefully and find out if the illustration will fit onto the surface you want to use and try to get it in the middel ( if that is where you want it). If it doesn't fit you can adjust the size of the illustration on your computer screen.
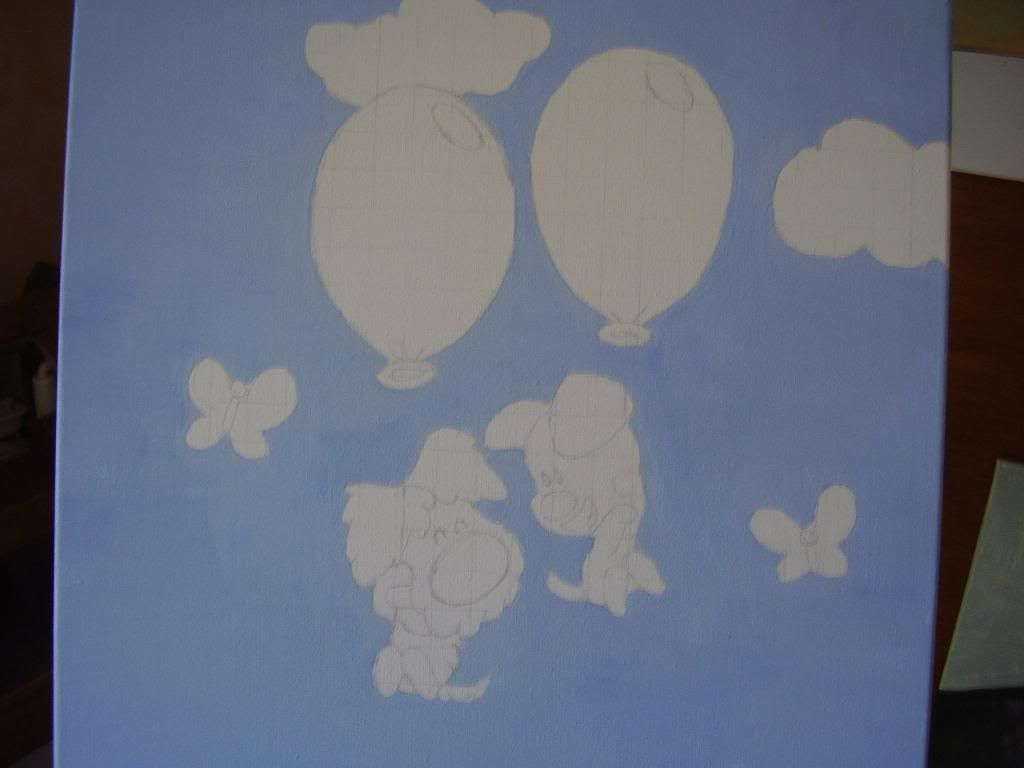
After you have finished copying and have erased the grid as much as possible you can start painting. I used acrylic paint on this one. I started by painting the sky. I mixed enough paint to cover all of it, if you make too little you will have to mix more and it can be difficult to get the same colour. Acrylic paint can change colour a bit when dry. I had to paint three layers before the base didn't show through anymore.
Then I painted the other features. I waited to do the black bits untill the other paint was completey dry to prevent running.
Lastly I painted the darker borders and lines. When it is completely dry your painting is finished!
Paints and canvases can be bought cheaply every so often as special offers in shops which don't usually sell these things ( at least, they are in the Netherlands) Paintings like these can make a great inexpensive gift.
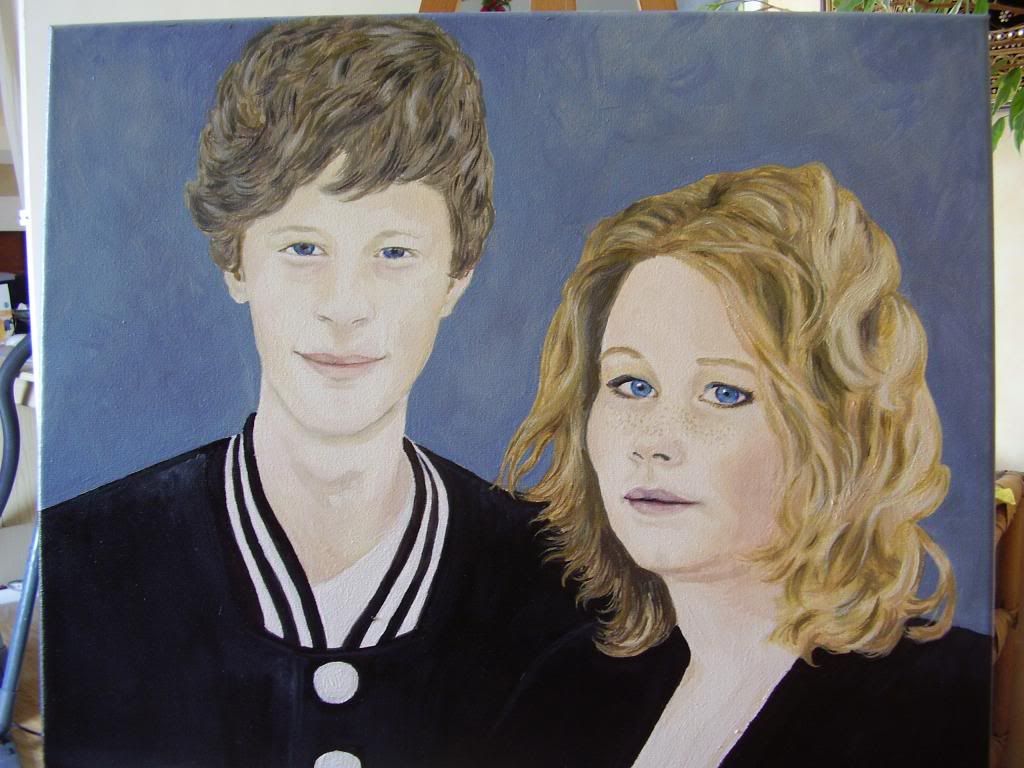
I had a commission to paint a portrait for people I know. I copied the photo in the same way I copied Woezel and Pip above.
This is the finished result (in case you are wondering why one of his eyes is bigger than the other and one ear is higher than the other... I didn't make a mistake he just isn't very symmetric ;-)
So do have a try at this yourself. You may be pleasantly surprised at your undiscovered talents!
I love coming up with usefull, creative and inexpensive ideas and would like to share them with you in my blog
Posts tonen met het label make it yourself. Alle posts tonen
Posts tonen met het label make it yourself. Alle posts tonen
dinsdag 21 mei 2013
woensdag 20 februari 2013
Hair Ornament
Those of you which have followed my blog before will know that I love "decorating" myself. I love jewelry, sequins and beads.
I am 50+ and my hair is getting pretty gray around the edges but that doesn't mean that I will resign to becoming drab and boring!
I used tot visit the website "going gray looking great" very often ( before they were only on facebook) and last time I read something about hairtinsel and how wonderfull silver tinsel looked in gray hair. So I had a look on google but was shocked to find 10 strands kost €5.00! I had some yarn which had silver wrapped around it so I spent a while unraveling some and knotted two strands in my hair. I was rather pleased with the result untill the next day when I brushed one strand out and two collegues thought they were helpfull when the pointed out to me there was "something"stuck in my hair!
So I had a good think about a decoration I could make that would look as if it was meant to be there.
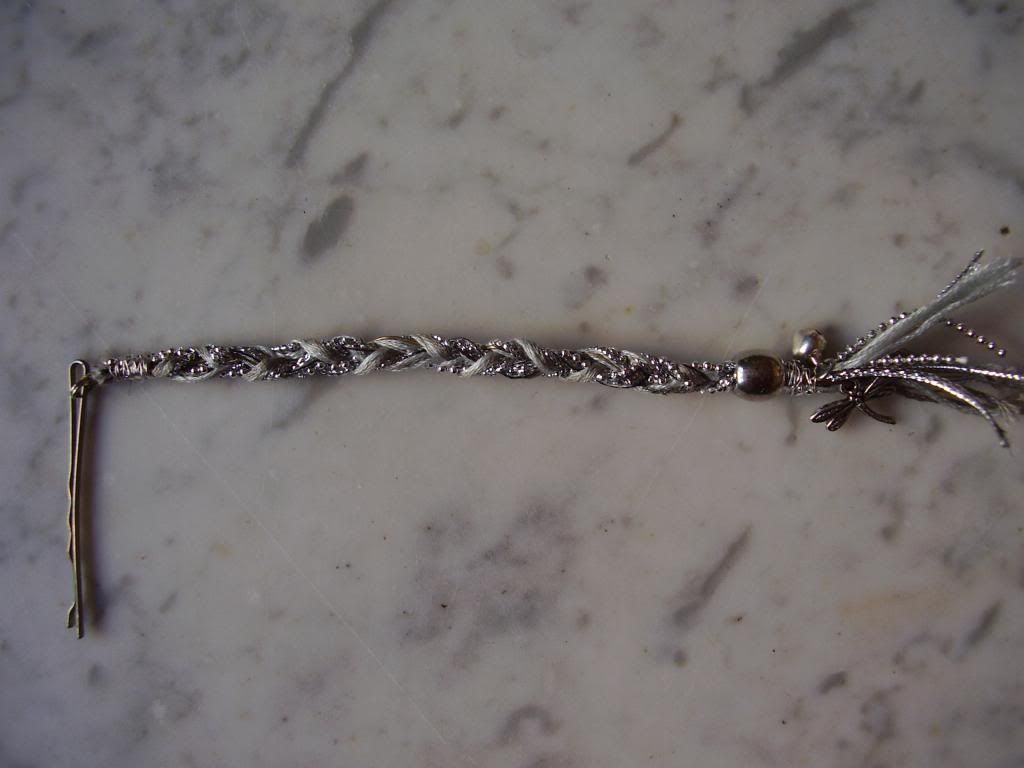
I also like the "Jack Sparrow look" ( I'm talking about the hair, not the teeth) and that's when I got the idea to make this...
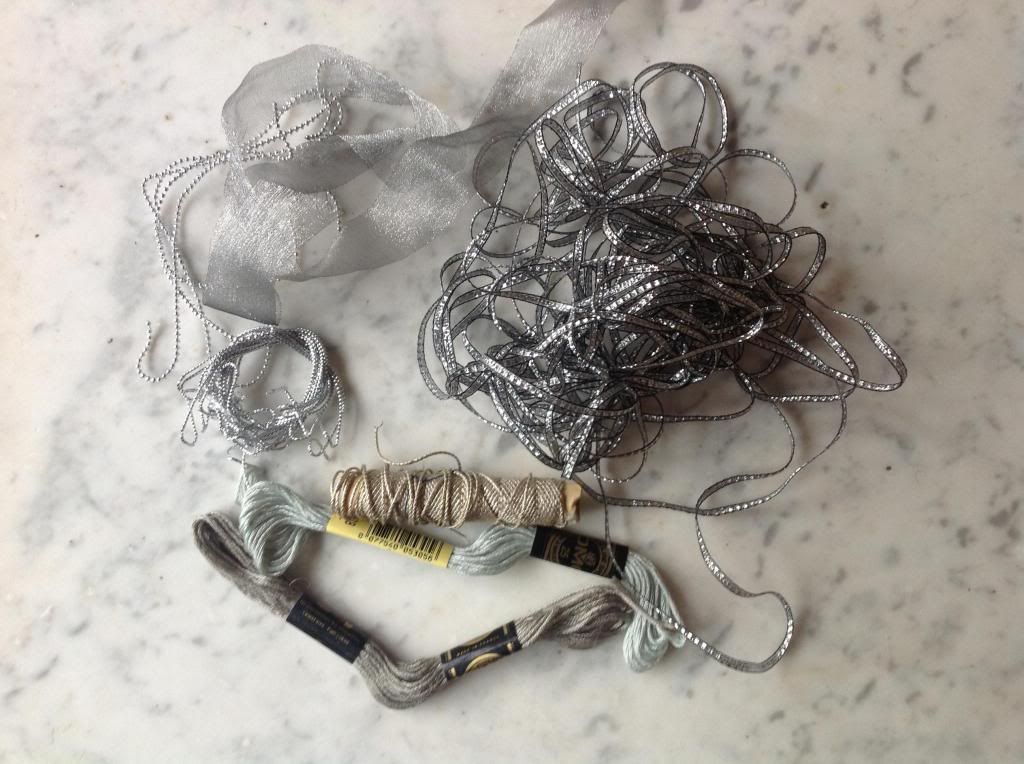
I looked in my stash for something I could use. I tend to hoard things that I think will be usefull in the future such as ribbons from presents and packaging and even christmas decorations. I also used some cross stitch yarn in the colour of my hair.
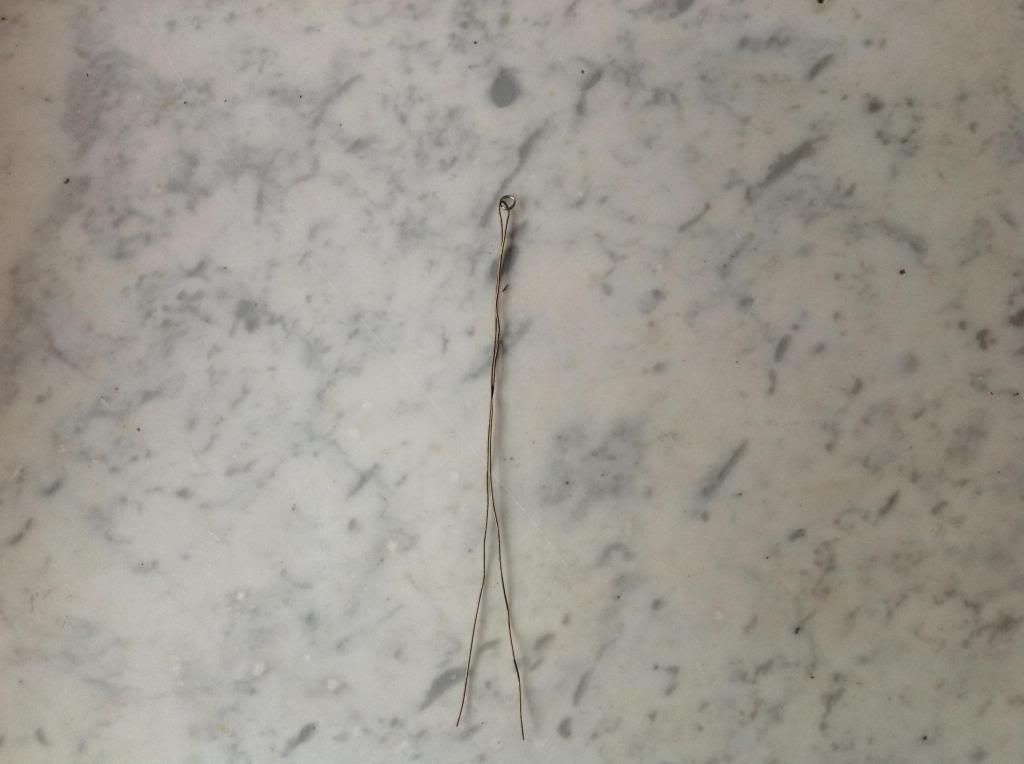
Then I got a piece of wire and a jump ring. I wanted to use wire as a base because I have curly hair and I thought it would look weird having a straight decoration in amongst my curls. With wire I could bend it any way I wanted so it would go with the flow of my hair. The Jump ring was so I could hang the decoration on a hairslide to secure it in my hair.
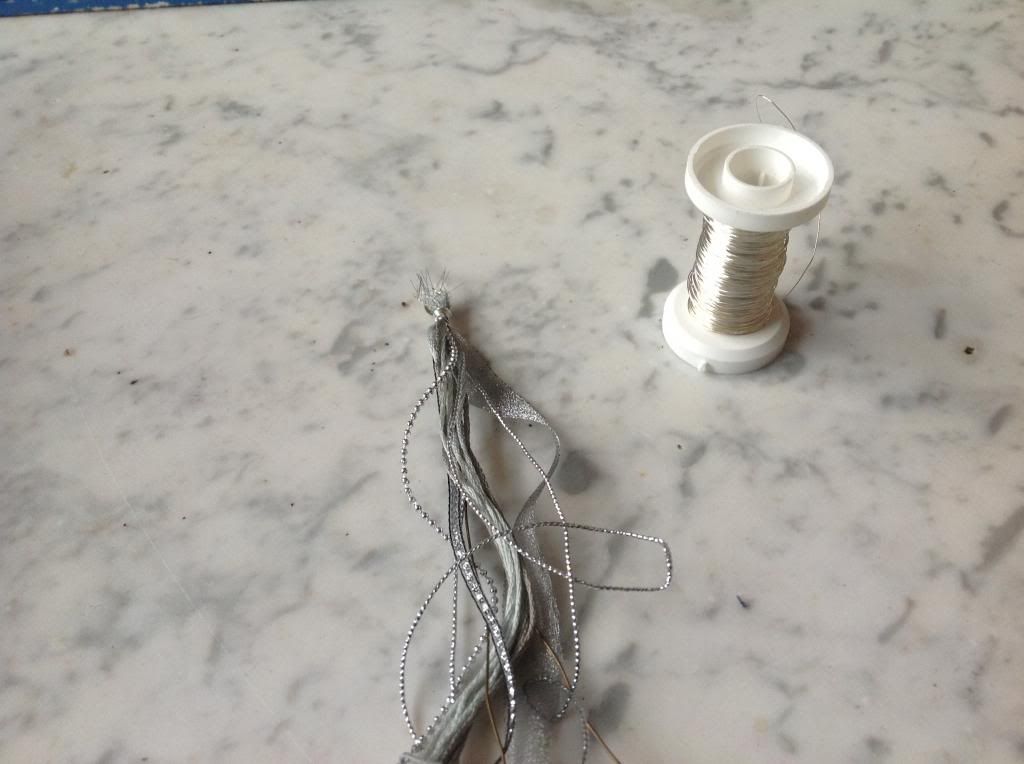
Then I cut all the strands to the length I wanted and attached them with very fine wire to the wire just under the jump ring.
After this I braided ( or if you're British platted) the strands and held them in place with a clothes peg.
Then I used a piece of the same thin wire to wrap around the strands a few times after which I slid a bead over the braid/plat. I hung an ornament on the two ends of wire I used in the base by bending the wire back after placing the ornament over it and wrapped the rest over the thin wire around it to tidy it up. Lastly I cut the ends of the strands all the same length.
When it was finished I ran to the mirror, eager to see how it looked....... I was very dissapointed. It looked really stupid! Though I'm convinced it would look really lovely on someone with thick, straight, long hair!
I haven't given up on the idea yet but I think I will make al shorter, less massive one for myself next time with no wire in it. That was a bad idea.
This one will make a good bookmarker! :-)
zondag 3 februari 2013
Lego/Playmobil Table
A long time ago ( although it seems like yesterday) when my children were young they played a lot with lego and playmobil. I would often step on small pieces of lego left lying around on the floor and I had to take care not to step on the creations they had made. If they had really done their best I would not tidy everthing up right away but leave it as it was so they could play with it another day.
Then I had an idea... Right in the back of a closet we had an old table which had belonged to my grandmother. We had kept it as an extra table in case we had guests and needed extra places set but it was never used.
It had legs which you could screw off and an extra leaf in the middle so you could extend it.
I thought it would be a nice and usefull idea to paint the top and use it as a table my children could play on. That way everything would not be left lying around on the floor to trip over.
Here is a photo of the smaller version. I haven't botherd to screw the legs on. After all, it's the top that matters.
I can't remember what kind of paint I used. Do take care to make the design of both parts correspond with each other so your version doesn't end up like mine.
This is the extended version
My son had a lot of water themed Lego so I made a water/beach/land version but you can paint on anything you want whether it's a city theme, desert, moon surface or farm theme.
This table didn't stop me stepping on small pieces of Lego left on the floor but it did enable me to leave out the things they had made for as long as they wanted.
Nowadays we use the table for what it was meant for. We get it out of the cupboard when the children come home for Christmas etc.
dinsdag 22 januari 2013
Make Your Own Air Freshener
This time I want to share an idea with you that anyone can make.
In our culture "toilet smells" are not done. Advertisments bombard us with all kinds of sprays in a scala of shapes and sizes and fragrances to mask unwanted odours.
Being the frugal person I am I never bought these things but opened the window or lit a match instead. But then I had an idea...
I got a spray bottle with a screwon top. In my case it was a nasal spray bottle. Our toilet/loo or if you are an American, restroom is tiny so that was big enough for us.
Here are some other bottles you could use
Then I put some perfume in it, you only need a small amount. I find that it's the perfect way to use up all the samples you get in shops which smell quite nice but not nice enough to wear on your skin. If you're a fan of pure and natural things you could put a few drops of essential oil in.
Then I top the bottle up with water. If you're afraid of germs growing in the water you could use alcohol. I have used this method for years and still haven't contracted Legionnaires disease so perhaps it's an unfounded fear.
If you like this idea but don't like the bottles used you could hunt around for one of these...
Perhaps you have an old aunt or granny who has one or you could find a one that still works in a yardsale of thriftshop.
I hope this article is usefull to you. Having you're "smallest room" smelling of Channel no 5 is much nicer than the store bought sprays.
Abonneren op:
Posts (Atom)
